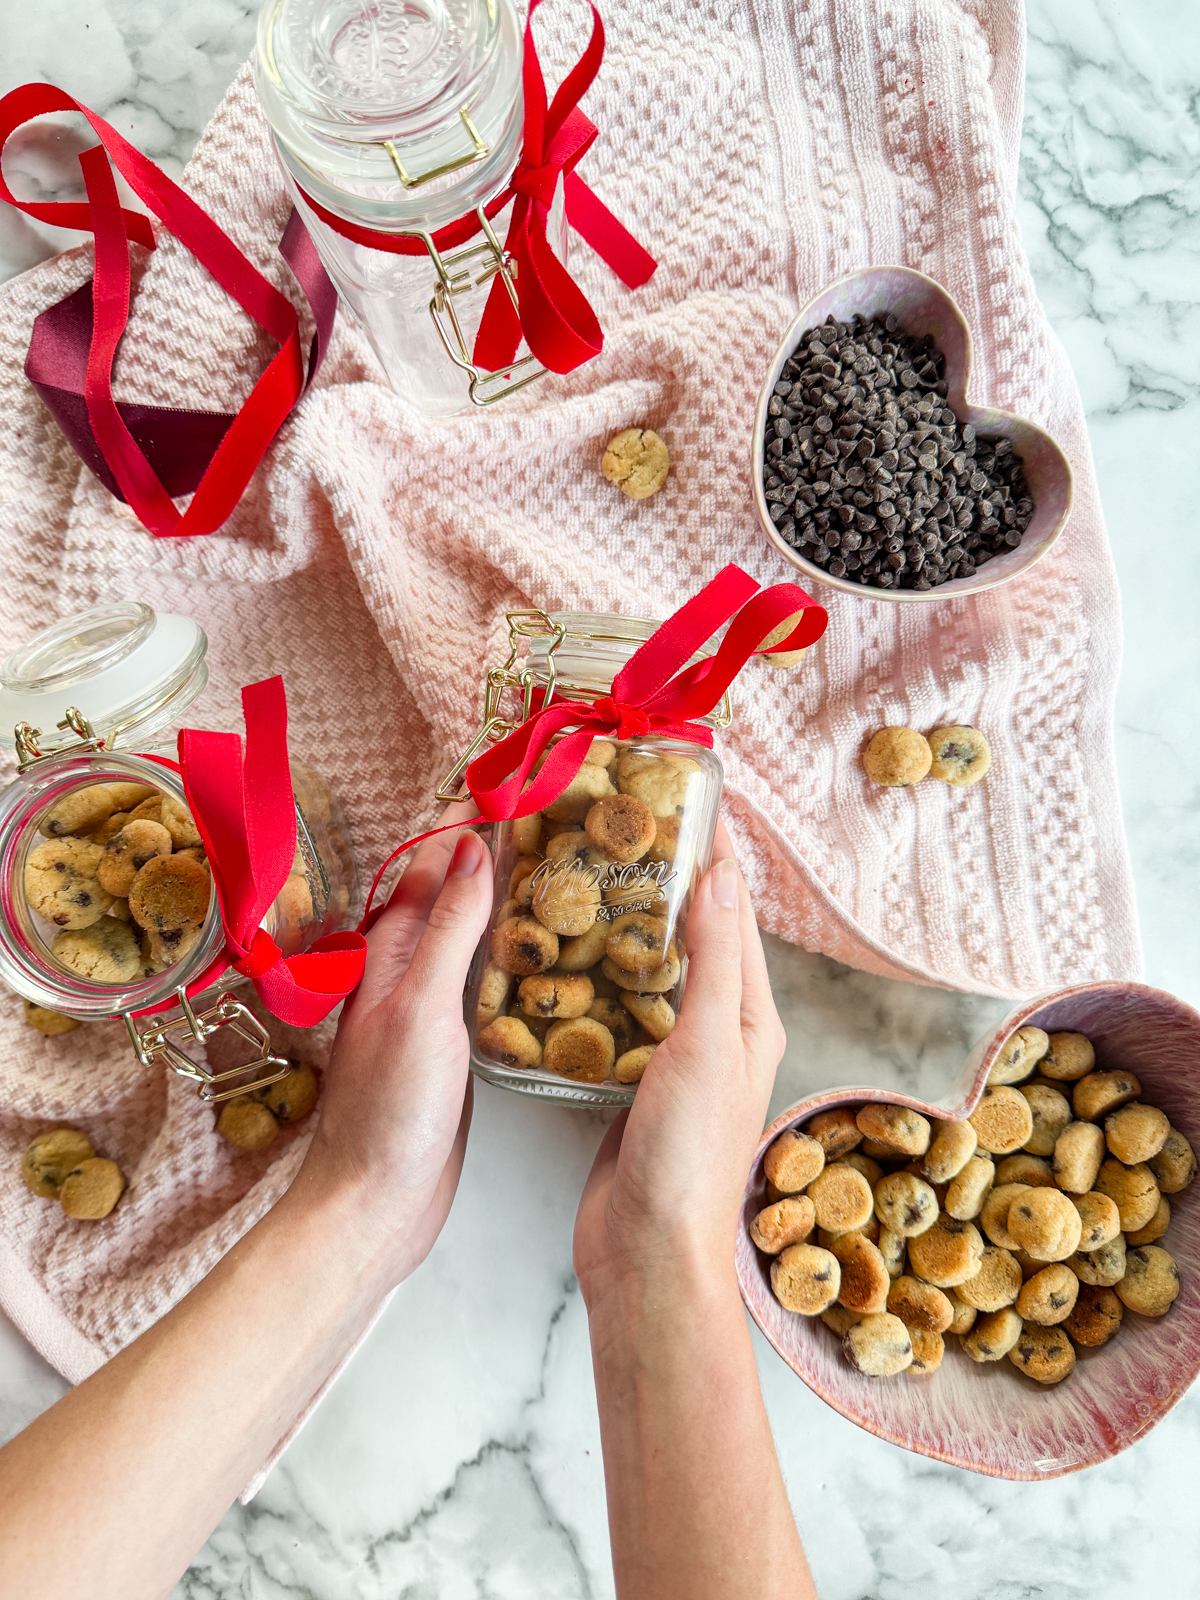
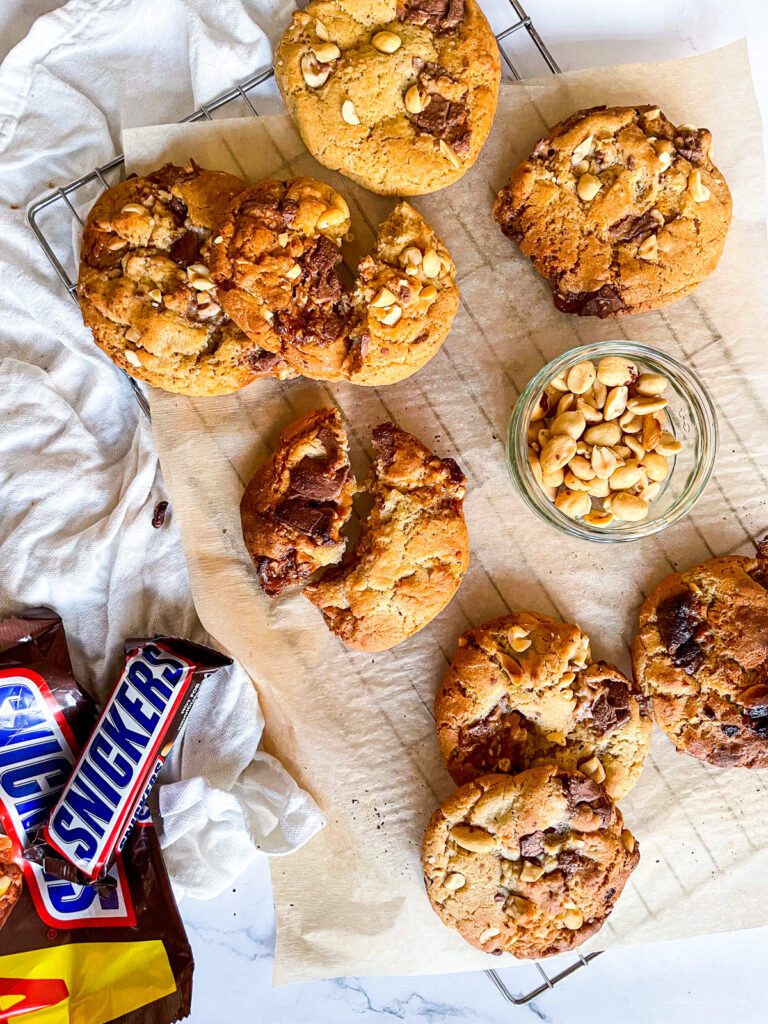
These Mini Chocolate Chip Cookies make the BEST gift for birthdays, Valentines Day, teacher appreciation or just to snack on! They are super easy to make and are just adorable when placed into a jar with some ribbon. An easy way to make a homemade gift that doesn’t cost much to make but has so much more thought than a gift card! The cookies use brown butter to add a gorgeous deep flavor, and are the perfect balance of crisp and soft!
This is a super simple cookie recipe in itself, just needing a little chill time to firm the dough. This is what allows the cookies to keep a good shape and texture. I recommend just 15 minutes chill time, but of course you could make ahead and let chill overnight to bake the next day. You can skip this step if you are short on time, but it helps the texture and flavors to really become their best! I know even I dislike finding a recipe to see I need to let something hand out in the fridge. However, chilling a cookie allows the butter to firm up again, preventing it from leaking during the baking process. This gives the cookies their thickness and non-cake-like texture.
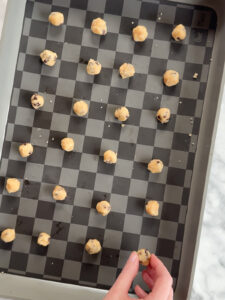
The brown sugar and vanilla are crucial to deep flavours and the gorgeous texture. The use of brown butter adds a depth of flavor, but feel free to skip this step if you’re short on time. Once the dough is entirely combined, roll into TINY balls. Use less than a teaspoon of dough and roll. Rolling all of the dough into balls this small takes longer than if you were to bake as regular sized cookies, but the outcome is so worth it. I just pop something on tv to watch while I roll them. Bake in batches, but because they are so small, keep an eye on the oven. The cookies on the top shelf will absolutely bake faster than those below.
WHEN IT COMES TO MAKING GREAT COOKIES, THERE ARE A FEW KEY TIPS TO KEEP IN MIND:
- Quality Ingredients: Start with high-quality ingredients, including butter, sugar, flour, and, in the case of vanilla cookies, pure vanilla extract.
- Creaming Method: Use the creaming method to properly mix the butter and sugar. Creaming incorporates air into the mixture, resulting in a lighter texture for the cookies.
- Proper Mixing: Be careful not to overmix the dough once the dry ingredients are added. Overmixing can lead to tough and dense cookies.
- Chilling the Dough: Chilling the cookie dough before baking can help solidify the fats and prevent the cookies from spreading too much in the oven. This can result in a thicker, chewier texture.
- Baking Time: Be sure to keep a close eye on the cookies as they bake. They should be removed from the oven when they are just set around the edges but still slightly soft in the center. They will continue to firm up as they cool.
By following these tips, you can create delicious chocolate chip cookies that are sure to impress! I love serving these as an easy bake for when friends come over, and are great to take into the office or school. Change up the sizes of the balls before baking for larger cookies. If you do this, add to the bake time by a minute or two for the perfect crisp outer and soft center.
INGREDIENTS REQUIRED
There are no specialist ingredients or equipment required for this bake. I can find everything I need at my local supermarket or grocery store. Also, I use a standard large baking tray/cookie sheet. Bake across multiple baking sheets as there are a lot of cookies.
- Unsalted Butter, Melted
- Granulated Sugar
- Light Brown Soft Sugar
- Large Free Range Egg
- Vanilla Extract
- Plain (All Purpose) Flour
- Baking Powder
- Mini Chocolate Chips (Semi-Sweet or Milk Chocolate)
TOP TIPS FOR THE BEST Mini Chocolate Chip Cookies
- Butter: Fully melted, unsalted butter is best!
- Sugars: The combination of light brown and granulated sugars really contributes to a chewy centre and perfect bake.
- Assembly: Place the balls of dough onto a baking sheet to bake. Roll the cookie dough using less than a teaspoon of dough to create the super small size. The process of rolling all of the dough can be a little repetitive and slow, so do this with some helping hands or pop on your favorite tv show!
- Chill Time: This really does help to make the best cookies! 15 minutes is the minimum to let the dough form up, meaning the butter doesn’t ‘leak’ whilst baking. If you are making ahead, overnight is great! You might find the cookie dough needs to warm a little before rolling as it can be quite stiff.
- Bake Time: Take the cookies out before they look fully baked. The residual heat will get them to the perfect texture. These cookies are still slightly soft in the center with a crisp edge and bottom. Be careful when baking in batches with multiple trays in the oven, as they will cook at different times and it only takes a minute to take them from perfectly done to too crispy!
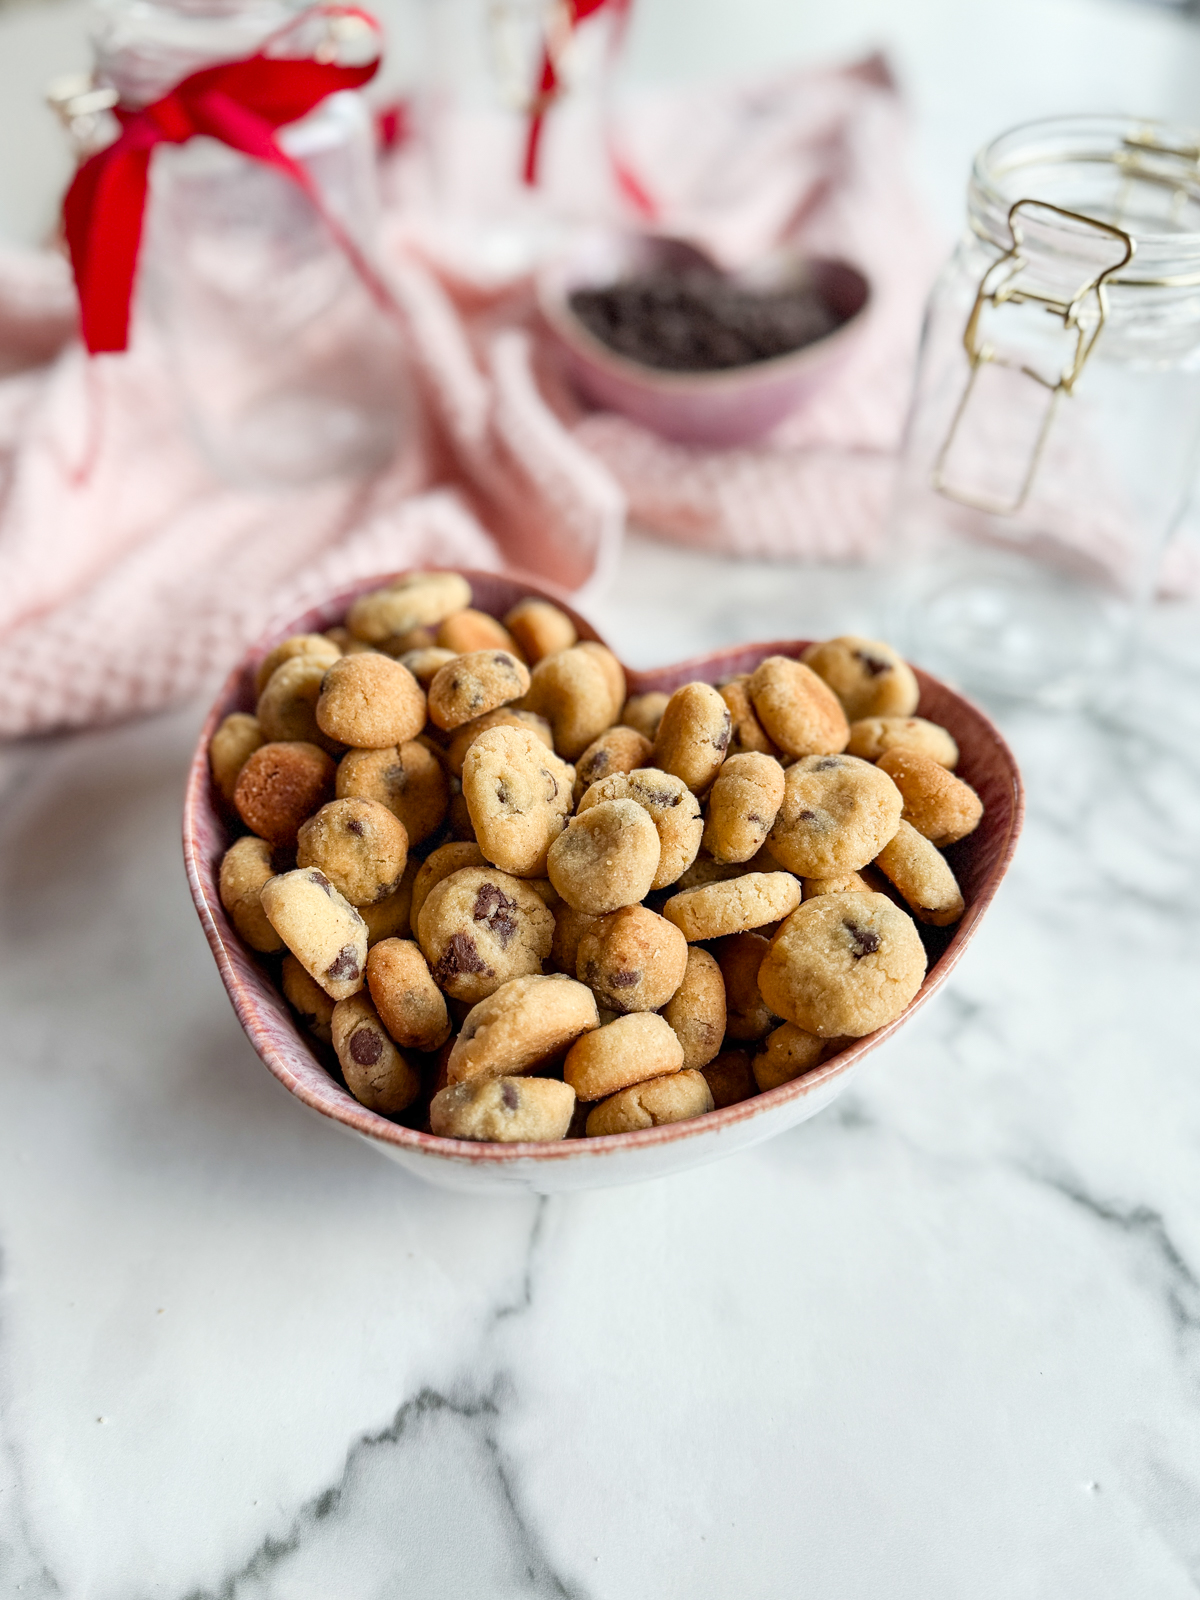
- Chocolate Chips: Use mini chocolate chips, semi-sweet is best. Milk or white chocolate will work too though, it just depends what you like and what you have!
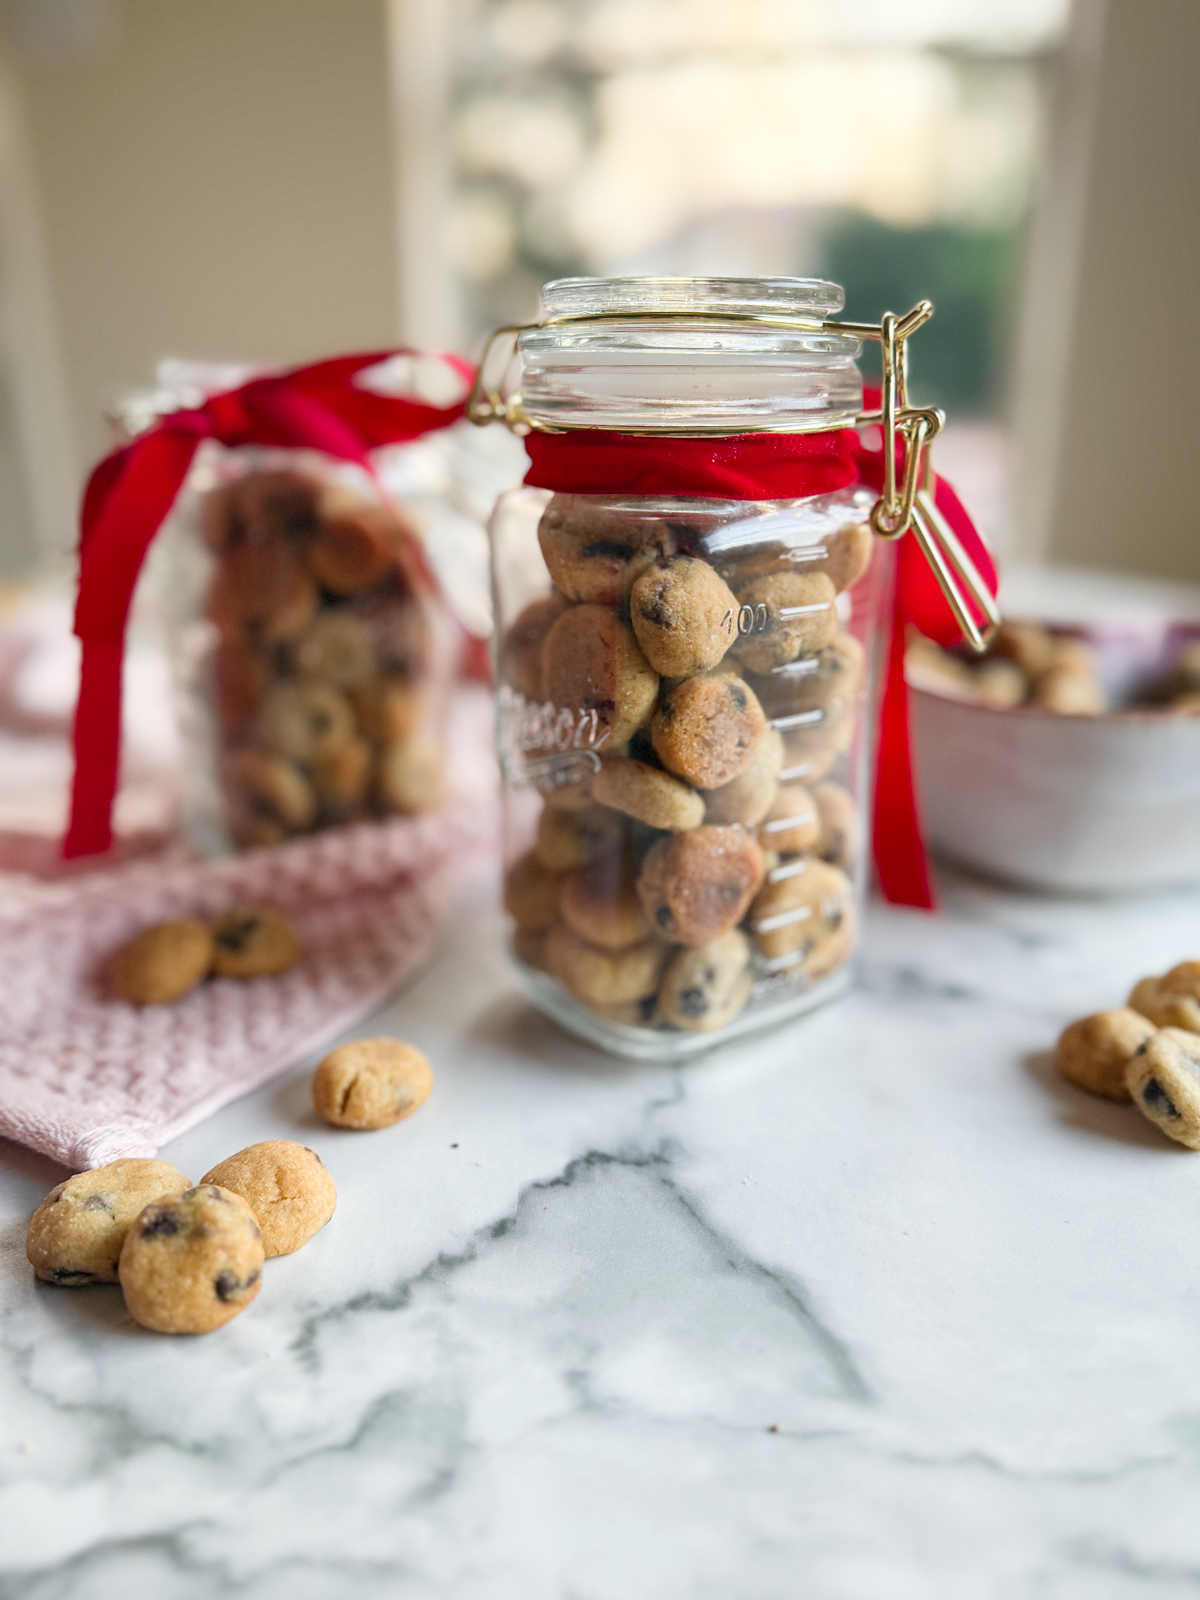
- Serve up either just as they are, or place in a mason jar and wrap with ribbon for a gift.
STORAGE FOR MY Mini Chocolate Chip Cookies
When it comes to storing fresh cookies, it’s essential to maintain their texture and flavor. Here are a few tips to help you store your cookies effectively:
- Air Tight Container: As these cookies do not contain perishable ingredients they do not need to be stored in the refrigerator. Place them in an airtight container like mason jars or reliable plastic food storage containers. This way, they will stay their best for about 3 days.
- Freezing: Cookies can generally be frozen for up to 3 months. To freeze, arrange them in a single layer on a baking sheet and place in the freezer. Once frozen, transfer them to an airtight container or freezer bag with layers separated by parchment paper. Thaw them at room temperature before serving. You can do this with the raw cookie dough, removing from the freezer to bake. Alternatively, freeze the cookies once baked and remove when the cravings hit! Let thaw before serving, or even microwave very quickly to get them warm again.
By following these storage methods, you can enjoy your freshly baked cookies for an extended period without compromising on quality.
I bake these Mini Chocolate Chip Cookies on classic sheet pans (like these). Any variation of cookie sheets/baking sheets will work, just make sure they are lined for best results. For more cookie ideas, check out these Tiramisu Cookies. For videos and baking inspiration, head on over to my Instagram. If you make this recipe, don’t forget to drop it a star rating, leave a review or share a photo on your socials!
Mini Chocolate Chip Cookies
Ingredients
- 140 g (10 tbsp) Unsalted Butter
- 75 g (⅓ cups) Light Brown Soft Sugar
- 125 g (⅔ cups) Granulated Sugar
- 1 (1) Large Free Range Egg
- 2 tsp (2 tsp) Vanilla Extract
- 275 g (2 ¼ cups) All Purpose (Plain) Flour
- 3 tsp (3 tsp) Baking Powder
- 175 g (1 cup) Mini Chocolate Chips Semi-Sweet/Dark
Instructions
- If making these with brown butter (it adds major depth of flavor): start by placing the butter in a pan on a low/medium heat. Stir and swirl the pan while heating for about 5-7 minutes, until the butter has browned and looks foamy. Remove from the heat and immediately pour into a bowl to prevent the butter from burning.
- In a large bowl, using an electric/stand mixer combine the butter and both sugars on medium speed for several minutes, until fully combined. Add the egg and vanilla and mix again.
- Add the flour baking powder and mix until combined. Finally mix through the mini chocolate chips. The dough should be fairly solid at this stage, but still pliable. Place in fridge to chill for 15 minutes.
- Preheat the oven to 175℃/350℉. Line two to three large baking sheets.
- Roll balls of dough – use less than half a teaspoon and roll to make mini cookie dough balls. These should be about 1/4 inch diameter or less. Place on a baking sheet, they do not spread that much so you can place fairly close together.

- Bake 7-8 minutes, until they look just cooked and lightly golden. Remove from the oven. You can press down each cookie just a little using a spoon if they are still too 'ball-like'. Let cool before removing from the tray to bake the next batch. If placing multiple trays in the oven at the same time, keep an eye on each tray as they will bake at slightly different times depending on your oven.
- Once all cooled, place the cookies in mason jars and wrap with ribbon if gifting. Otherwise, keep stored in an airtight container!


I’m having a little problem with the dough. It’s crumbly and not holding together. Any recommendations?
Hey, great question! So this could be because of a few things, even something just as simple as your kitchen being colder than my test kitchen! If this happens, add in about 2 tbsp unflavored oil (canola/vegetable/sunflower) and see if it holds better.