AKA Summer in a jar, this Easy Homemade Cherry Syrup is a beautiful thing to have in the pantry to use in all sorts of baking, to add to lattes and more! You can use really any berry you like and the same quantities and ratios will still apply. For some fruit like blackberries you may want to add a few tablespoons more of sugar to balance the acidity!
This syrup is truly so easy to make, and will last for about 2-3 weeks in the refrigerator. This recipe creates a reasonable sized batch, about 12oz (350ml). It’s a great way to get your fruit to go a little further, especially if you have a lot leftover or about to go bad. Whatever berry you use, if it’s gone a little too squishy to eat, it’s great to turn into syrup! The extra ripeness leads to extra sweetness.
To change the quantity, it is super easy just to half or double. You don’t need to play with ratios or cook time. Cherries are the ultimate taste of Summer for me, so this syrup goes into a lot of baked goods and even might go into a lil cocktail or two!
Why Make Cherry Syrup at Home?
In an age of convenience, it might be tempting to grab a bottle of fruit syrup from the store, but homemade cherry syrup offers distinct advantages. First and foremost, it’s about flavor. Commercial syrups often rely heavily on artificial flavorings and corn syrup, lacking the nuanced taste of real fruit. When you make syrup at home, you control the ingredients, the sweetness, and even the texture.
Second, there’s the versatility factor. Depending on how you want to use your syrup, you can tailor it to suit your needs. Want a thicker, more dessert-style sauce? Simmer it a little longer. Want something pourable for drinks? Add a splash of lemon juice and strain it well. Homemade syrup can be rustic or refined, depending on your mood.
Lastly, making cherry syrup is a great way to reduce food waste. If you have cherries that are a little overripe or bruised, they’re perfect for syrup. You don’t need them to look pretty, you just need their flavor. It’s also a great way to make use of cherries that might otherwise go uneaten in the back of the fridge.
Ingredients Required for Easy Homemade Cherry Syrup
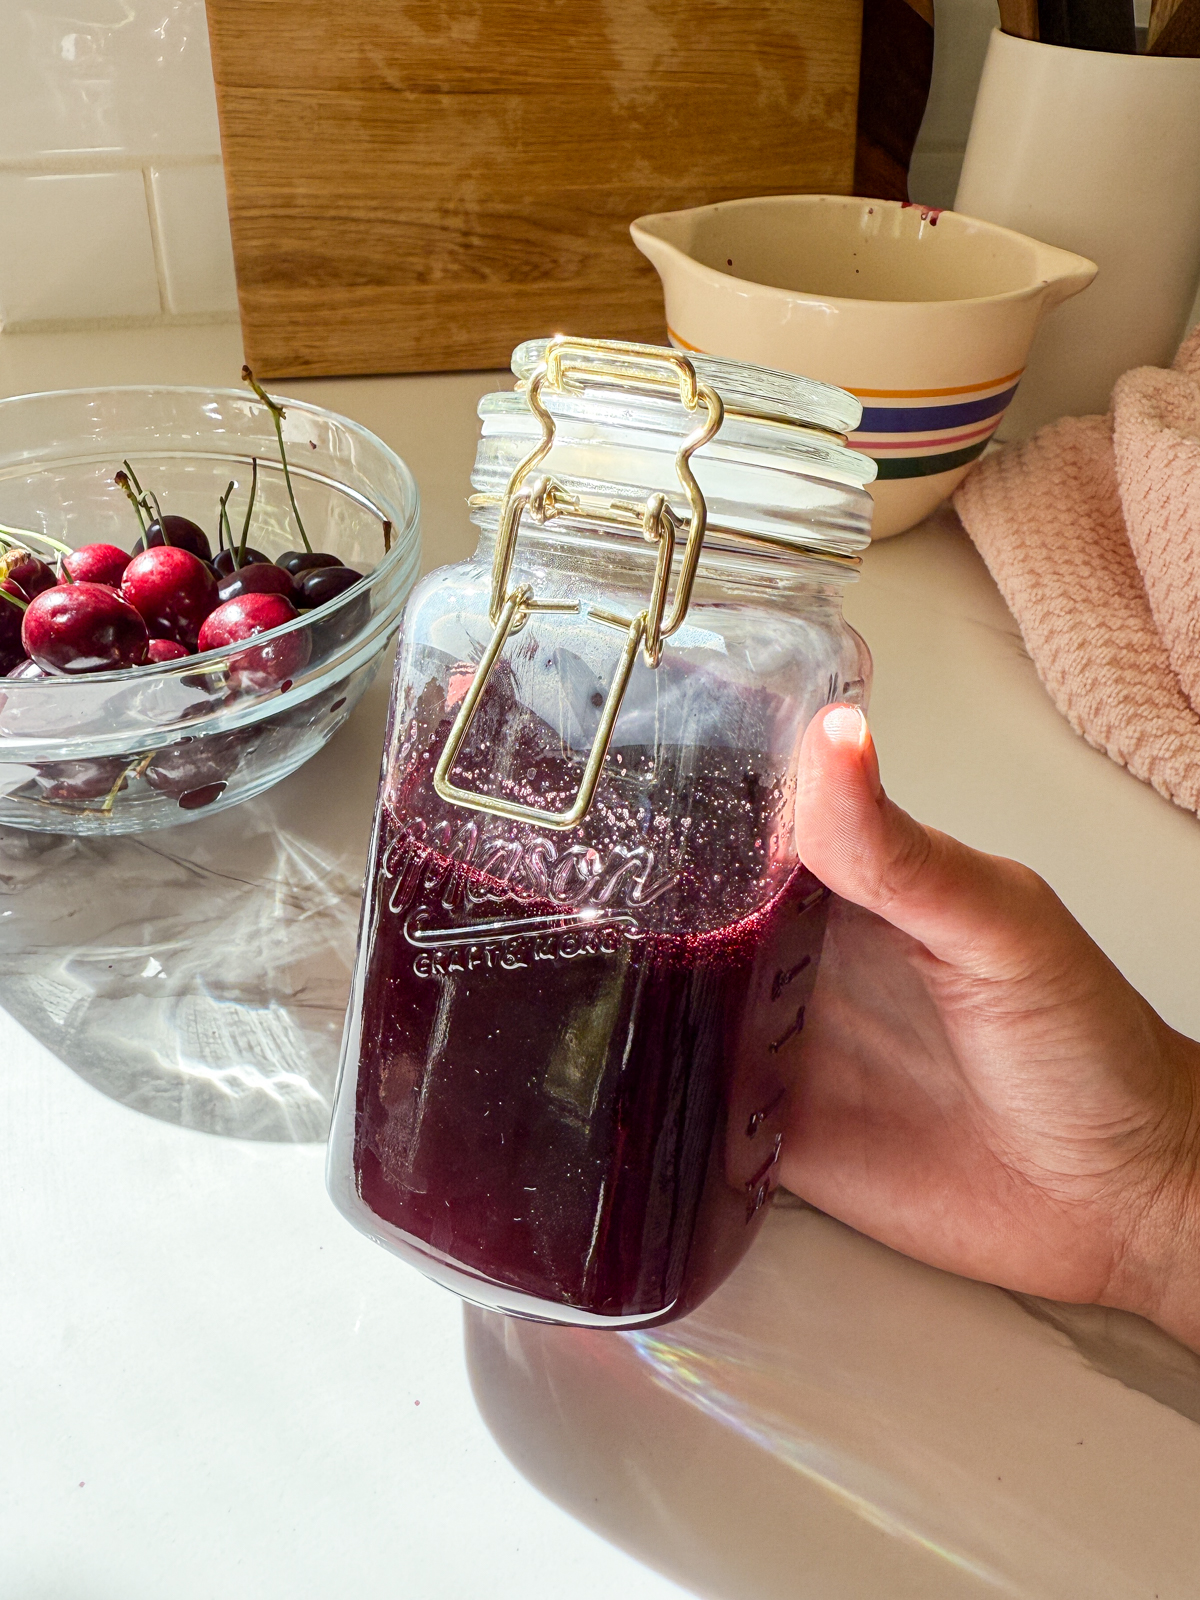
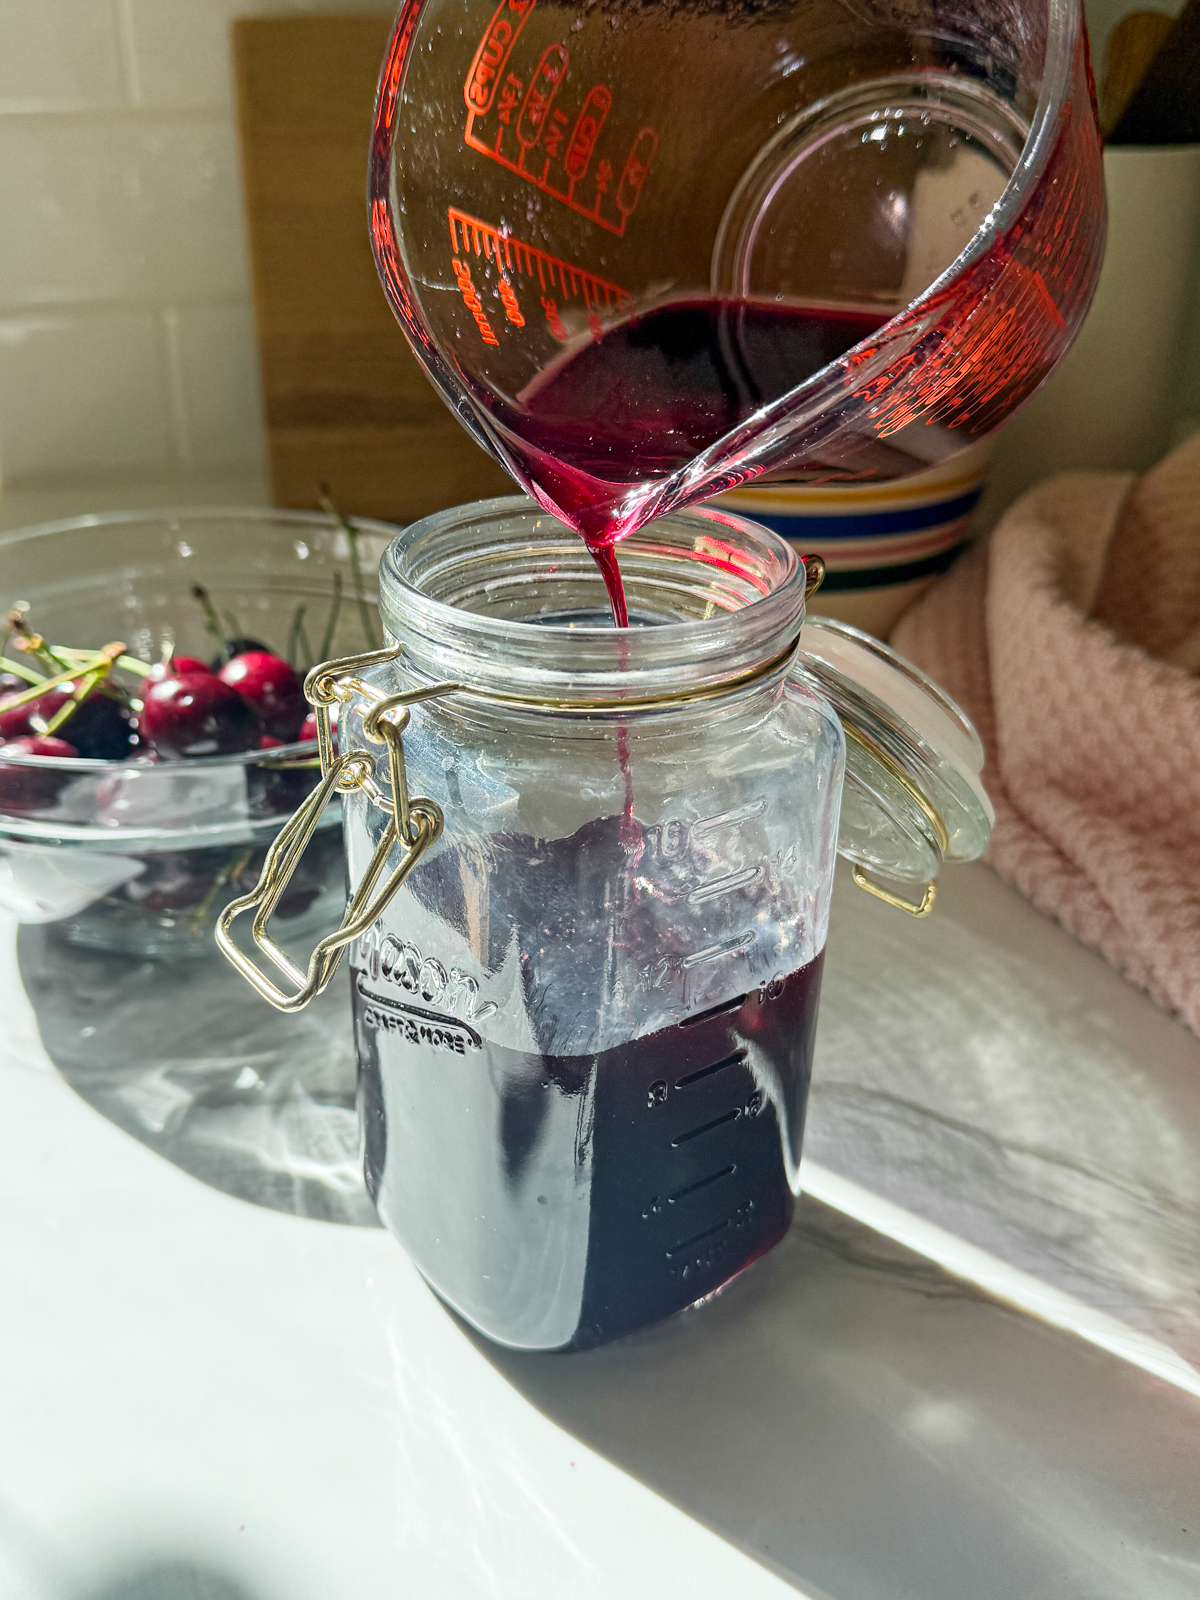
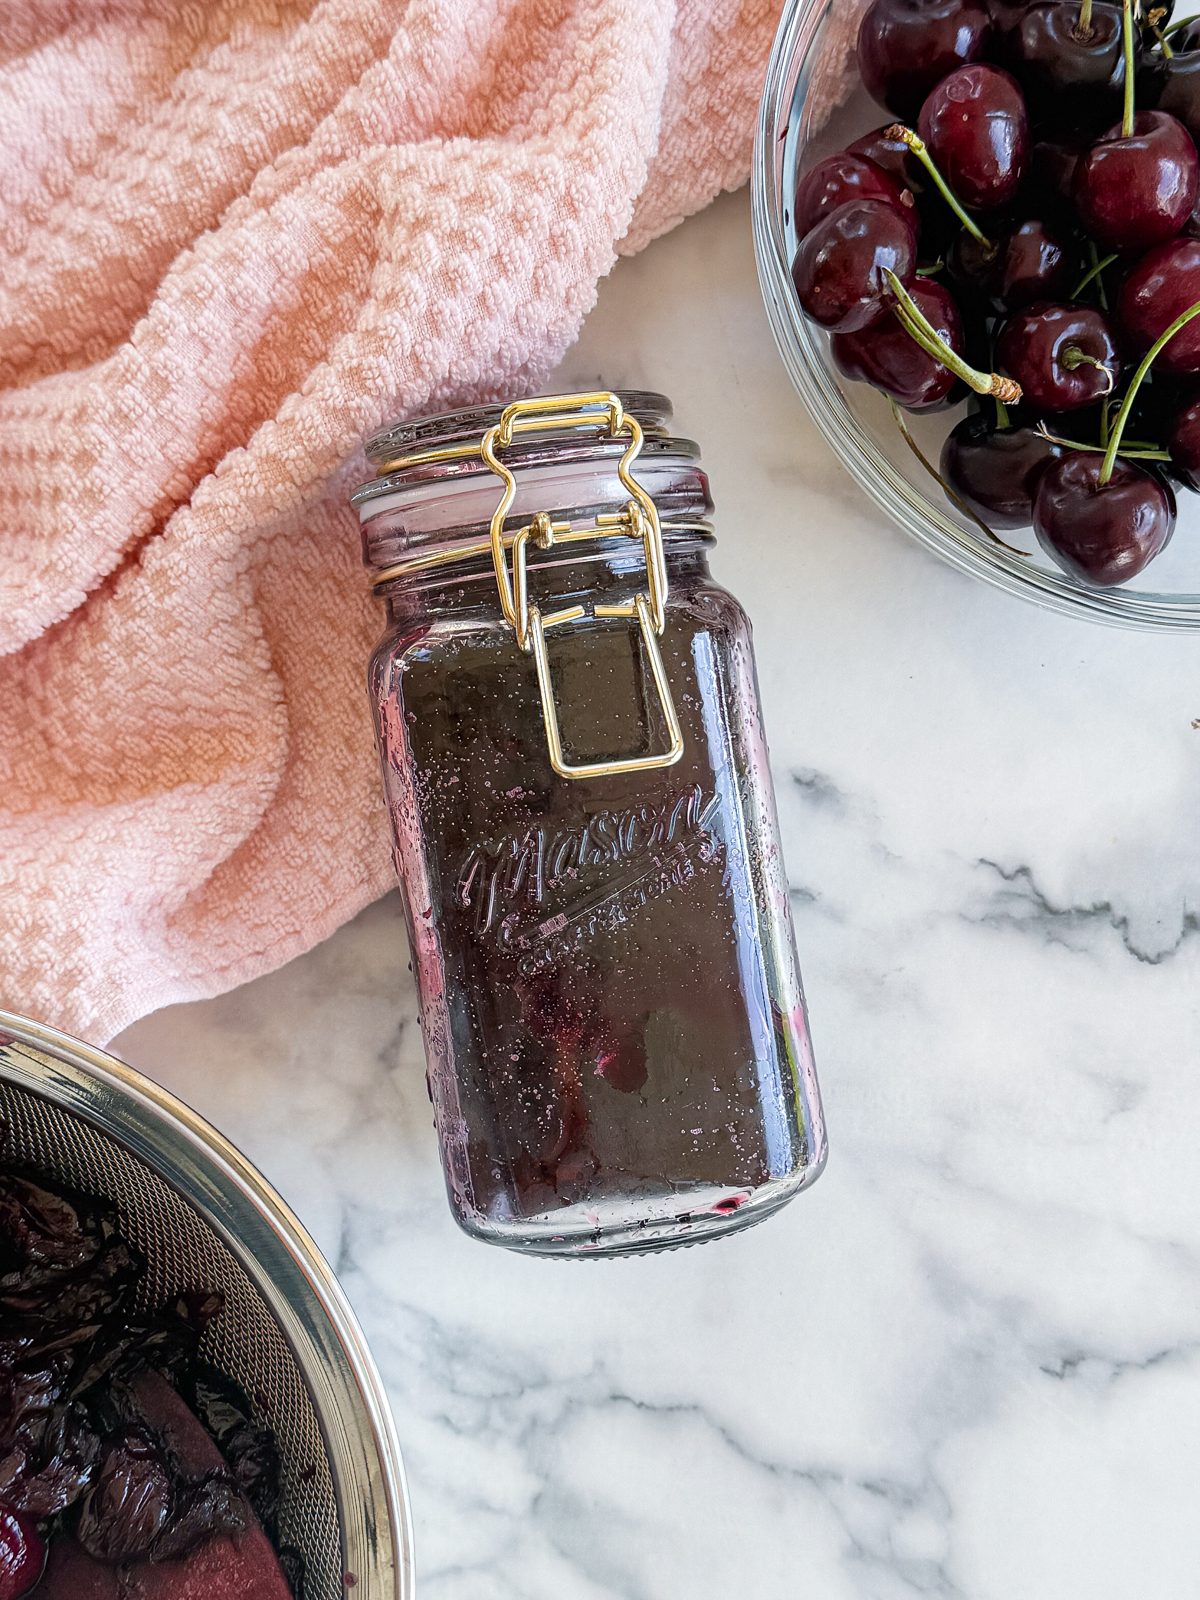
There are no specialist ingredients or equipment required for this bake. I can find everything I need at my local supermarket or grocery store. To store the syrup, use any sort of jar or container with a tight fit – it’s very runny so will easily spill out of loose Tupperware! In the image, I use a 16oz jar, which fits the syrup easily and is water-tight, meaning it won’t spill if I knock it over or tilt it by accident! Store the jammy cherries in any container that they fit into.
- Fresh Cherries, Pitted and Halved
- Granulated Sugar
- Water
A Note on Sweeteners and Flavor Additions
Sugar is the most common sweetener for fruit syrups, and for good reason: it acts as a preservative and enhances the fruit’s natural flavor. But the type and amount of sugar you use is flexible. White sugar keeps the syrup’s color vibrant, while brown sugar adds a hint of molasses and depth. You could even experiment with honey, maple syrup, or agave, though these will alter both flavor and texture.
Flavor additions can turn a basic syrup into something extraordinary. A splash of vanilla extract, a cinnamon stick, or even a few crushed cardamom pods added while the cherries cook can take your syrup in an entirely new direction. A bit of lemon zest or juice can brighten the flavor and help balance sweetness with acidity. You can keep it classic or get creative, totally up to you!
A Taste of Summer Nostalgia
There’s an undeniable nostalgia to making things from scratch, especially things that feel like they come from another era. Homemade cherry syrup harks back to a time when preserving summer fruit was a family ritual, not a novelty. It reconnects us to the rhythm of the seasons, the satisfaction of handcrafting, and the joy of savoring something truly made with care.
Whether you’re making it for your morning pancakes or bottling it up as a heartfelt gift, cherry syrup is a small, sweet way to slow down and celebrate what’s fresh and good. So grab those cherries while they last and get simmering. I promise you’ll be glad you did.
Everyday Uses for Cherry Syrup
Once you’ve made your first batch, you’ll quickly realize how useful homemade cherry syrup can be. It transforms plain yogurt or oatmeal into something luxurious. It’s a natural partner for pancakes, waffles, and French toast. You can use it as a glaze for grilled meats or as a finishing drizzle on cheesecakes and pavlovas. Use it in buttercream or stir into whipped cream to top cakes, or brush it over cake when making a layered cake to keep it moist!
In drinks, cherry syrup shines. Add it to lemonade for a cherry twist, mix it with soda water for a homemade cherry soda, or shake it into cocktails like whiskey sours, mojitos, or gin fizzes. It’s also excellent stirred into iced tea or even champagne.
✅ Tips for Making Homemade Cherry Syrup
- Use ripe, fresh cherries for the best flavor. Slightly overripe or bruised cherries work well too.
- Pit your cherries before cooking. A cherry pitter or a metal straw/skewer makes this easier.
- Use a mix of sweet and tart cherries for a more complex, balanced flavor (if available).
- Add lemon juice to brighten the flavor and enhance the syrup’s shelf life.
- Simmer gently, don’t boil hard, to preserve the fruit’s natural flavor and avoid scorching.
- Strain through a fine mesh sieve or cheesecloth for a smooth syrup; press gently to extract more juice.
- Reduce the syrup longer for a thicker texture, especially for dessert toppings.
- Flavor it your way – try vanilla, cinnamon, almond extract, or even a splash of liqueur.
- Cool completely before bottling, and store in a clean, airtight container in the fridge.
- Freeze leftovers in ice cube trays for easy single-use portions later.
- Sterilize jars if you plan to keep the syrup for more than a couple of weeks.
⚠️ Common Mistakes to Avoid
- Skipping the pitting step – cherry pits can crack teeth or break blenders if you’re tempted to shortcut later.
- Using too much sugar up front – start lower and add more after tasting if needed, especially with sweet cherries.
- Not straining the solids well – leftover pulp can lead to a cloudy syrup or faster spoilage.
- Boiling the syrup too fast or too long – this can cause burning or overly thick syrup.
- Forgetting to taste during cooking – flavors can intensify or dull, so adjust sugar or acid as needed.
- Storing warm syrup in jars without cooling – this can cause condensation and spoilage.
- Using reactive metal pots (like aluminum) – these can react with the fruit’s acidity and affect flavor or color.
- Not labeling jars or freezing containers – it’s easy to forget what it is later or how long it’s been stored.
Choosing the Right Cherries
Not all cherries are created equal when it comes to syrup-making. Sweet cherries like Bing, Rainier, or Lapins will give you a deep, rich syrup with a naturally sugary base. Tart or sour cherries, such as Montmorency, make a tangier syrup that’s perfect for cocktails or as a topping for rich desserts. You can even mix the two for a more complex flavor.
If you’re lucky enough to have access to fresh sour cherries, snap them up as these are the cherries often used in baking and canning, and their tartness balances syrup beautifully. However, don’t worry if your only option is the sweet kind from the grocery store; they’ll still make an outstanding syrup with a little added lemon juice to brighten things up.
For my Easy Homemade Cherry Syrup, I use a simple 16oz Mason jar. If you want more fun cherry recipe ideas, check out my… For videos and baking inspiration, head on over to my Instagram. If you make this recipe, don’t forget to drop it a star rating, leave a review or share a photo on your socials!
Easy Homemade Cherry Syrup
Ingredients
- 3 cups (600 g) Fresh Cherries Pitted and Halved
- 1 cup (200 g) Granulated Sugar
- 2 cups (480 ml) Water
Instructions
- Pit the cherries and slice in half.
- Add all ingredients to a saucepan and bring to a boil, then reduce the heat to a simmer (low heat) and let cook for 30 minutes.
- Remove from the heat and use a wooden spoon or similar to crush the cherries in the pot, really getting as much juice out as possible!
- Pour the contents of the saucepan into a sieve (sitting above a wide bowl). Then pour the liquid into a jar and the cherries in a separate container.