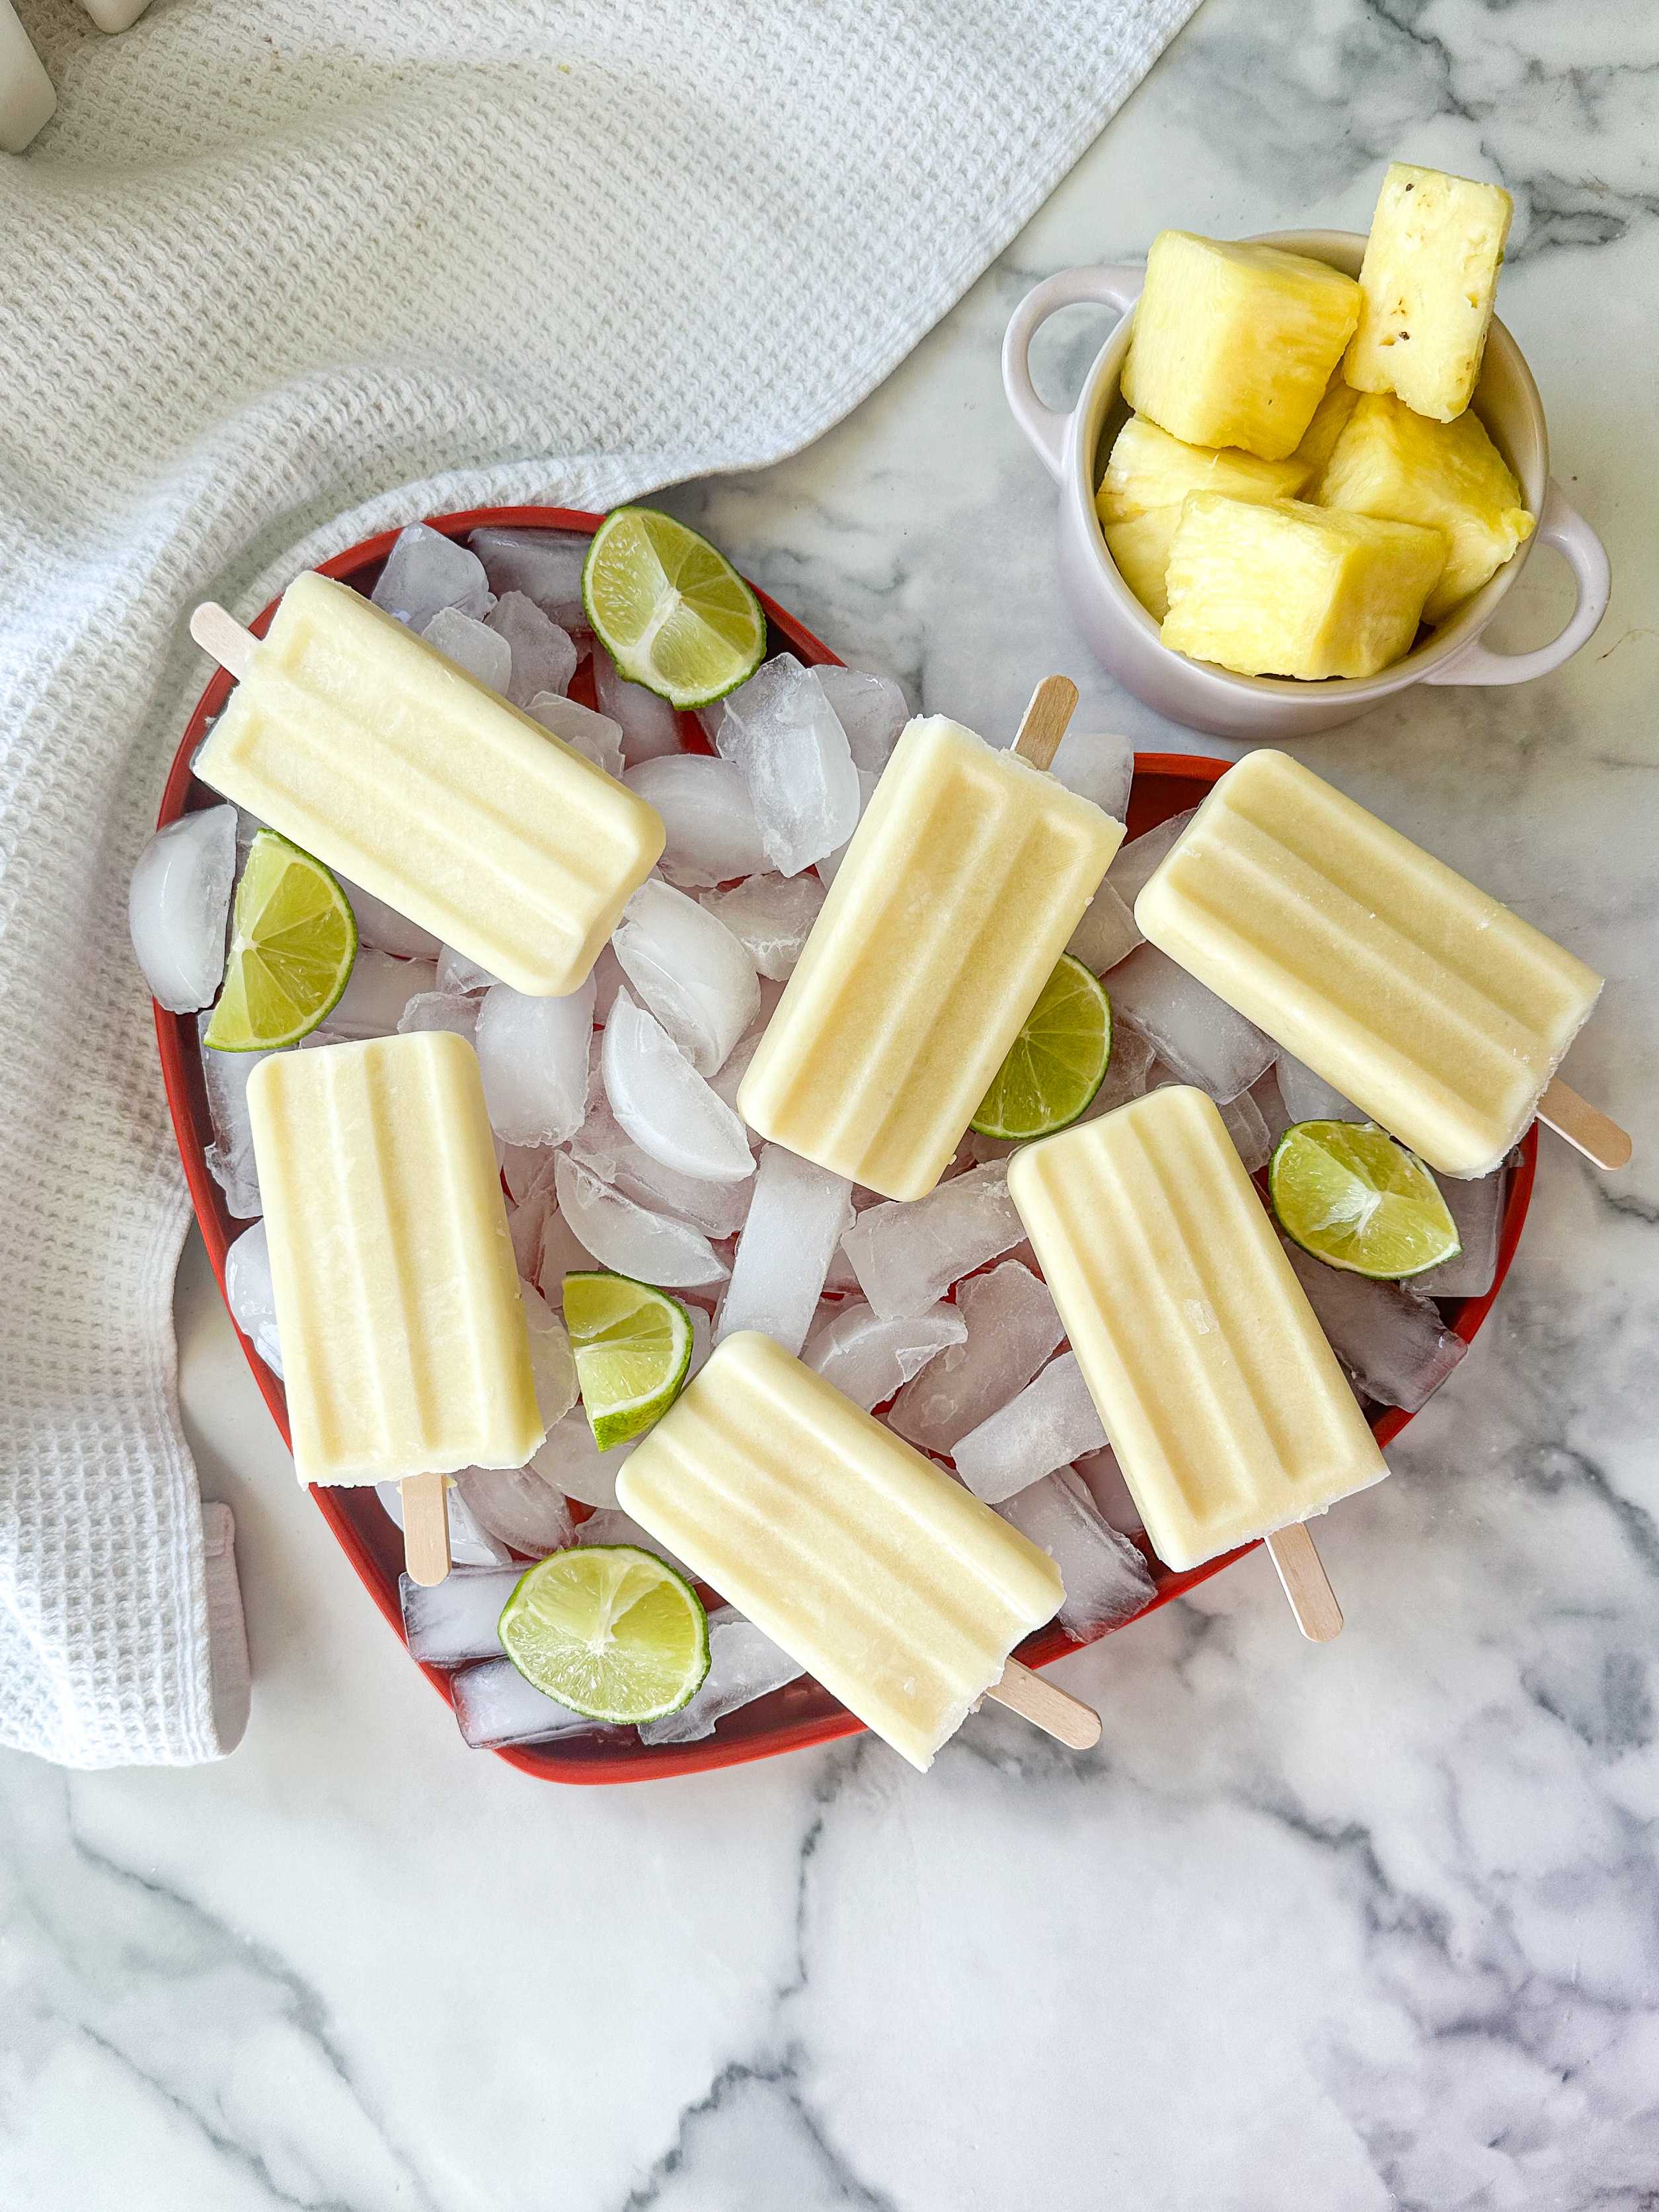
These Homemade Pina Colada Popsicles are the ultimate Summer treat! No oven required so just perfect for those hot days when you want a sweet treat with a boozy kick. Creamy and fruity and zesty, Pina coladas are one of my favorite cocktails, so why not make it into a popsicle! The alcohol is entirely optional.
To make these popsicles, a blender does all the hard work. Any sort of food processor or blender is fine as nothing is frozen when it goes into the blender. That said, you want to get the texture as fine as possible to avoid those pineapple fibres from still being thick when in the popsicle.
For the rum, feel free to use whatever you have to hand. White rum is the classic for Pina Coladas. That said, if you like spiced or dark rum they will work just as well. While it may be tempting to add more alcohol than specified, avoid this. Alcohol has a very different freezing point than water so adding too much can prevent the popsicles from fully freezing.
Why Make Your Own Popsicles?
Making popsicles at home offers a bunch of great benefits:
- Control Over Ingredients: You can choose high-quality, fresh ingredients and avoid preservatives, artificial flavors, or excessive sugars. This is especially great for people with dietary restrictions or those who prefer a healthier lifestyle.
- Customizable Flavors: Experiment with different flavor combinations, mix-ins, and even add superfoods like chia seeds or matcha. You’re not limited to store-bought options!
- Cost-Effective: Homemade popsicles can be much cheaper than store-bought ones, especially if you buy ingredients in bulk or use leftover fruits and juices.
- Fun and Creative Activity: Making popsicles can be a fun activity for families or individuals. You can get creative with shapes, colors, and flavors, and it’s a great way to involve kids in the kitchen.
- Portion Control: You can make popsicles in various sizes and shapes, so you can tailor the portion to your needs, whether you’re making mini treats or full-sized pops.
- Fresher Taste: Homemade popsicles often taste fresher because you’re using real, quality ingredients and they haven’t been sitting on a shelf.
- Preservation of Seasonal Fruits: Making popsicles is a great way to preserve and enjoy seasonal fruits when they’re at their peak.
- Environmental Impact: You can use reusable molds and avoid the packaging waste that comes with store-bought popsicles.
Overall, homemade popsicles can be healthier, more economical, and a lot more fun to make!
Ingredients Required
There are no specialist ingredients or equipment required for this bake. I can find everything I need at my local supermarket or grocery store. Also, I use a silicone popsicle mold I bought online. You can use any sort or shape of mold. These days the molds are so cheap and last forever. To remove the popsicles from the mold, push up each individual popsicle from the base. Avoid pulling too hard on the stick as they may not come out in one piece!
- Fresh Pineapple, Cut into cubes
- Full Fat Coconut Milk
- Rum (any variety is fine)
TIPS FOR GREAT Homemade Pina Colada Popsicles
- Pineapple: Either fresh or frozen are fine. If using frozen, let it thaw (either just by leaving out in the kitchen or by giving it a 30 second blast in the microwave). Ensure your pineapple is ripe before using as these give the popsicles their sweetness.
- Rum: Absolutely any rum is fine for these popsicles. White rum is the classic ingredient for a Pina Colada cocktail. That said, I’ve made these with dark rum and spiced rum and they still turn out great. Use what you have to hand or whatever you prefer the taste of.
- Coconut Milk: Full fat coconut milk is the best, as it sets better. It also adds some real coconut flavor which I find the low fat stuff loses.
- Alcohol Free: To make these alcohol free you can just omit the rum! This will make no real difference to the texture and they will still taste just as fruity and delicious! This is ideal if you’re making them family friendly.
- To Remove the Popsicles: To remove the popsicles from the mold, hold the mold and use the other hand to push each popsicle up from the base. Avoid pulling too hard on the stick as they may not come out in one piece.
For my Homemade Pina Colada Popsicles I use a basic silicone popsicle mold (I like this one). I also recommend a good blender (like this one) to make the popsicles. If you want more wild baking recipe ideas, check out my Birthday Cake Brownies. For videos and baking inspiration, head on over to my Instagram. If you make this recipe, don’t forget to drop it a star rating, leave a review or share a photo on your socials!

STORAGE/MAKE AHEAD FOR MY Homemade Pina Colada Popsicles
By their very nature, popsicles are a ‘make ahead’ recipe. Simply blitz all your ingredients in a blender before pouring into the mold and freezing. They will last about two weeks in the freezer before possibly getting freezer burn. Make sure to use the cover on the popsicle mold to avoid this!
If they’re very well frozen, you can remove the popsicles from the mold then place into sandwich bags so you can clean and use your mould for more flavors. I recommend placing each in a separate bag otherwise they can stick together.
Homemade Pina Colada Popsicles
Ingredients
- 2 Cups (330 g) Pineapple Cubed
- 14 oz (400 g) Can Full Fat Coconut Milk
- 2 oz (50 ml) White Rum Or Any Rum!
Instructions
- In a blender, combine the pineapple coconut milk and rum and blend until fully combined!
- Pour this mixture into popsicle molds – add the sticks as directed.
- Freeze 4+ hours and serve!