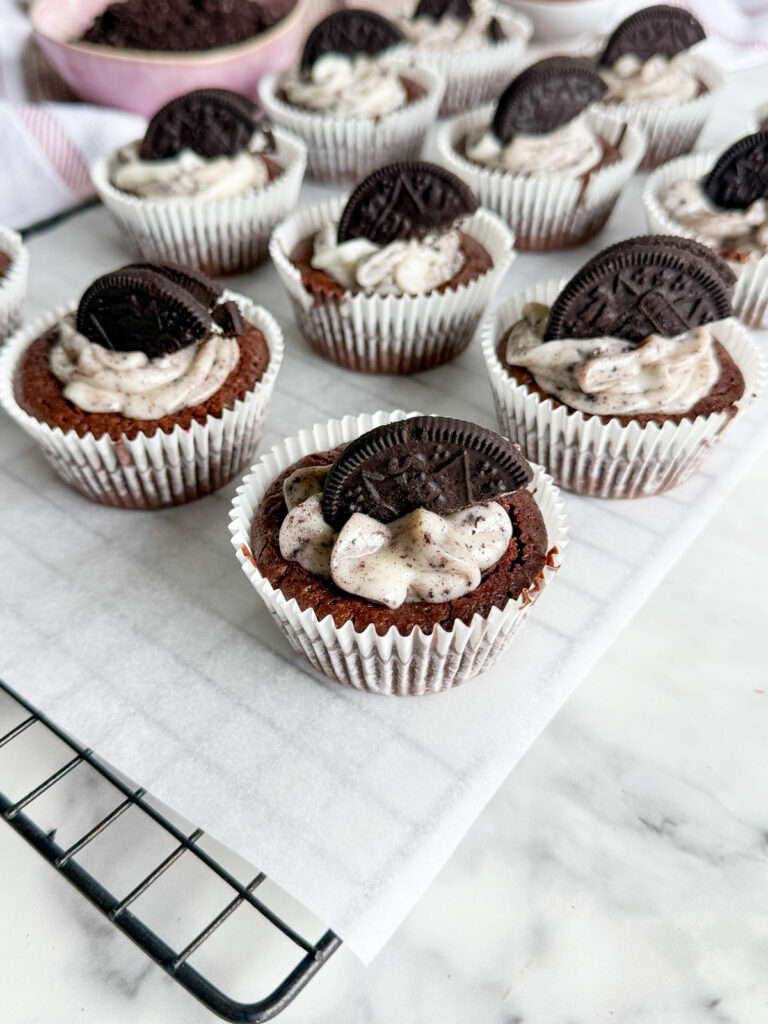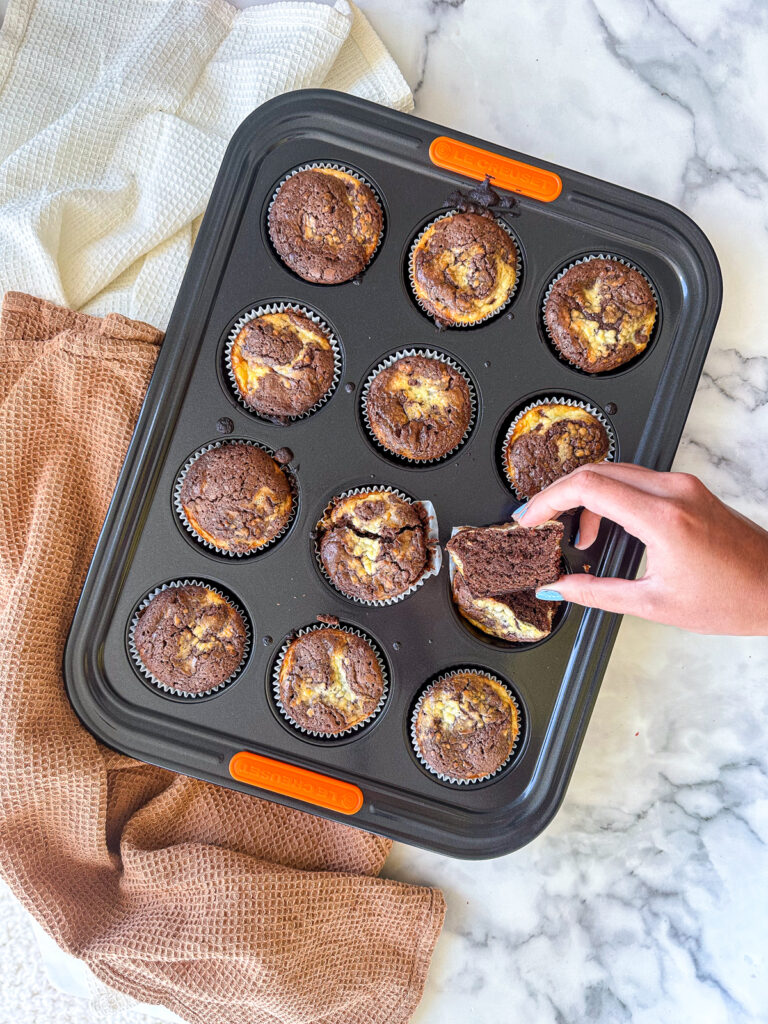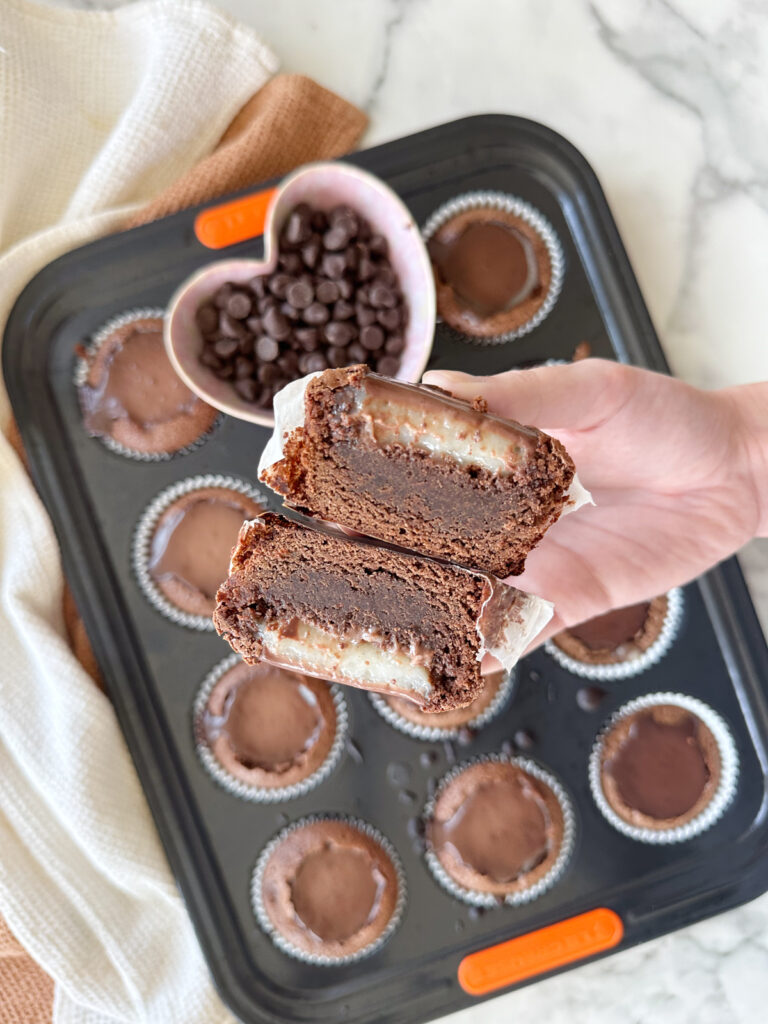

These Peanut Butter Oreo Brownie Bites take my original viral Oreo Brownie Cups and transform them into the perfect peanut butter lovers treat! These divine bites are super simple: fudgy brownie batter goes into muffin liners, with a peanut butter Oreo placed at the bottom as a sort of base. Top with remaining brownie batter and swirl in some peanut butter. The result is the most decadent bite of gooey peanut butter goodness.
The recipe is a really easy, fudgy brownie recipe. There really is minimal hassle involved – just lots of good, delicious ingredients. Once you’ve made the batter, scoop small amounts into the base of each cupcake liner. Add an Oreo, flat. Then top with the remaining batter until nearly full. Finally, swirl in some warm peanut butter (it’s easier to swirl if heated a little first).
These go into simple muffin liners for baking. Once done, simply let them cool before serving! I do recommend eating them warm for a real treat, but they are perfect to transport to work/school/as an easy snack! These are versatile and leave a lot of room for creativity. Play with Oreo flavors, or add on your favorite chocolate candy!

How to get a shiny top on brownies
- Melted Butter: Make sure to use unsalted butter or margarine (the baking spread works just fine – no need to buy real butter here). The butter should have only just been melted, so that it’s still really hot!
- Light Brown Soft Sugar: Using a combination of sugars provides the best structure. Light brown sugar adds flavour and the chewiness/fudginess we love. The melted butter needs to be so hot that the sugar almost ‘dissolves’ – into a thick paste.
- Eggs: There is speculation that the way the eggs bake as part of the brownie batter contributes to the shiny top. It’s definitely true that I really struggle to get shiny tops on vegan brownies!
WHEN IT COMES TO MAKING THE BEST BROWNIES, HERE ARE A FEW TIPS TO KEEP IN MIND:
- Quality Ingredients: Always use high-quality ingredients in your brownie recipe. This includes using good quality chocolate, cocoa powder, and fresh eggs. It will make a noticeable difference in the taste and texture of the brownies.
- Don’t Overmix: When combining the ingredients, be gentle and avoid overmixing the batter. Overmixing can lead to a denser and tougher texture. Mix until the ingredients are just combined.
- Proper Pan Size: Use the recommended pan size mentioned in the recipe. Using a smaller or larger pan can affect the baking time and the texture of the brownies. For fudgy and moist brownies, an 8×8-inch square baking pan is usually recommended.
- Do Not Overbake: Keep a close eye on the brownies while they are baking and avoid overbaking them. A slightly underbaked brownie will be fudgy and moist, while an overbaked one can turn out dry. Insert a toothpick into the center – if it comes out with a few moist crumbs, the brownies are done.
- Let Them Cool: Allow the brownies to cool completely in the pan before cutting and serving. This helps them to set and ensures that they hold their shape. It also allows the flavors to develop fully.
- Experiment with Additions: Feel free to get creative with your brownie recipe by changing up the chocolate chips/chocolate chunks, or by adding nuts or fruit. Just make sure not to overload the batter, as it may affect the texture.
Remember, practice makes perfect when it comes to baking brownies. Don’t be afraid to make tweaks and adjustments to the recipe to suit your preferences. You can totally shift the frosting quantity for more or less, just do what suits you!

INGREDIENTS REQUIRED
There are no specialist ingredients or equipment required for this bake. I can find everything I need at my local supermarket or grocery store. Also, I use a standard 12 hole muffin pan for these. Simply line with a standard muffin/cupcake liner then fill with batter. Start with just a small amount of batter in each muffin hole, top with an Oreo, then fill the cases. They don’t rise too much so the batter can come fairly close to the top.
- Dark/Semi-Sweet Chocolate, Melted
- Unsalted Butter
- Light Brown Soft Sugar
- Granulated Sugar
- Large Free Range Eggs
- Vanilla Extract
- Plain (All Purpose) Flour
- Cocoa Powder
- Peanut Butter (Creamy)
- Peanut Butter Oreos (or any Oreo variety you like)
Top Tips for the best Peanut Butter Oreo Brownie Bites
- Melted Butter: As mentioned above, this contributes to the shiny top!
- Melted Chocolate: Try to use a higher quality dark chocolate where possible, as this really does contribute to that final flavour.
- Light Brown Sugar and Granulated Sugar: It is the combination of both sugars that creates the fudgy texture and rich flavour.
- Cocoa Powder: Again, where possible try to use a higher quality make. This contributes so much to the flavour and I find some cheap ones really dull the richness!
- Filling: These don’t rise too much, so you can fill fairly close to the top of the cases without fear that they will spill.
- Layering: Pour just half of the batter and spread out across the pan to ensure the base is fully covered. Add the Oreos in a flat layer, pressing in a little. I find I can just fit 16 Oreos (4×4) in a really tight formation. Pour over the remaining batter, then swirl in the peanut butter.
- Peanut Butter: Creamy is my preferred option but use whatever you have! If using a basic peanut butter (like I do), heat it up in the microwave for 20-30 seconds to loosen it up. This makes it far easier to swirl.
This recipe for Peanut Butter Oreo Brownie Bites makes about 10 muffins (I use two 6 hole muffin tins – like these ones)! I also recommend a good stand mixer or high speed mixer (like this one) to make the brownie mixture. If you want more fun brownie recipe ideas, check out my Strawberry Frosted Brownie Cups. For videos and baking inspiration, head on over to my Instagram. For videos and baking inspiration, head on over to my Instagram. If you make this recipe, don’t forget to drop it a star rating, leave a review or share a photo on your socials!

STORAGE FOR MY Peanut Butter Oreo Brownie Bites
Because these brownies don’t use a fresh frosting, place in an airtight container and keep in a cool place like your cupboard or pantry. They will keep for up to 3 days this way. A cake tin is a great option if you have one.
Alternatively, you can freeze the brownies. Completely wrap as tight as you can using cling film/Saran wrap. If you have an airtight container too, place it in there before freezing. Let thaw in the fridge before serving. I like to give them a quick 10-15 second blast in the microwave before eating for that extra gooeyness.
Peanut Butter Oreo Brownie Bites
Ingredients
- 100 g (½ cups) Dark or Semi-Sweet Chocolate Melted
- 170 g (¾ cups) Unsalted Butter Melted
- 100 g (½ cups) Light Brown Soft Sugar
- 100 g (½ cups) Granulated Sugar
- 2 (2) Large Free Range Eggs
- 2 tsp (2 tsp) Vanilla Extract
- 85 g (⅔ cups) All Purpose Flour
- 30 g (6 tbsp) Cocoa Powder
- 12 (12 ) Peanut Butter Oreos
- 1 tbsp (1 tbsp) Creamy Peanut Butter
Instructions
- Pre-heat your oven to 370℉/180℃. Line a 12 hole muffin pan with muffin liners.
- In a small bowl, break up the dark/semi-sweet chocolate and melt in the microwave in 20 second intervals, stirring in between to make sure it doesn't burn. Alternatively, set up a double boiler. Do this by placing a heatproof bowl over a small pot of simmering water. Add the chocolate to the heatproof bowl and stir until melted.
- In a large mixing bowl, whisk together melted butter and both sugars. Add in the eggs and vanilla and mix to combine. Pour in the melted chocolate and whisk together.
- Add the flour and cocoa powder, fold gently into the wet mixture with a rubber spatula or wooden spoon until just combined.
- Place 1 tablespoon of the brownie batter into each muffin liner. Add a Peanut Butter Oreo, laying flat. Top with remaining batter until cases are 3/4 full (they don't really rise).
- Warm up the peanut butter if it's stiff (place in microwave for 20 seconds). Add a small drizzle of the peanut butter onto each brownie cup and swirl with a knife or toothpick.
- Bake 20-23 minutes, until shiny and crisp, and barely wobbling. Remove and let cool before eating. For the perfectly Instagrammable photo, use a knife to cut in half!